| |
clearString neatComponents
| |
|
clearString neatComponents Working with Windows |
| Installing | ||
Working with Windows | ||
Installation
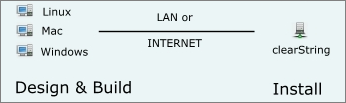
The neatComponents server software that powers clearString and hosts all your websites and web applications is installed on a machine, accessed either on the LAN (local network) or across the Internet in the Cloud or at a hosting company.
![]()
Operating System Requirements
neatComponents can be installed on all current Microsoft Windows Pro and Server operating systems:
Legacy Operating Systems
You can also install onto all previous Windows Pro and Home Server editions.
These Operating Systems are no longer supported for future development.
What type of machine to use?
You can install onto any of the following environments:
neatComponents then provides a complete hosting environment with integrated codeless web development software from one download.
Advice: Use a 'clean' machine
For ease of installation we recommend using a machine that has not previously had database or webserver software installed on it, and is not being used for other server roles (such as a mail server) - what we call a 'clean' machine. Those other programs may have settings that conflict with your new installation.
See Advice on using a local/physical machine here...
If you do not have a spare 'clean' machine, then we recommend initially installing into a new AWS instance. Transferring sites that you create to another machine is easy.
You can also create a new virtual server and install onto that.
You will find detailed instructions on creating a virtual server here.
You must Turn Off (Disable) Internet Explorer ESC on Windows servers.
There is advice from Microsoft here...
And other sources of advice here...
Problems?
See Installation troubleshooting advice here...
Remember - ALL site building, data-management and server management are performed using your web-browser - Internet Explorer, Firefox, Chrome or Safari, which can be on Windows, Linux, Mac or whatever.
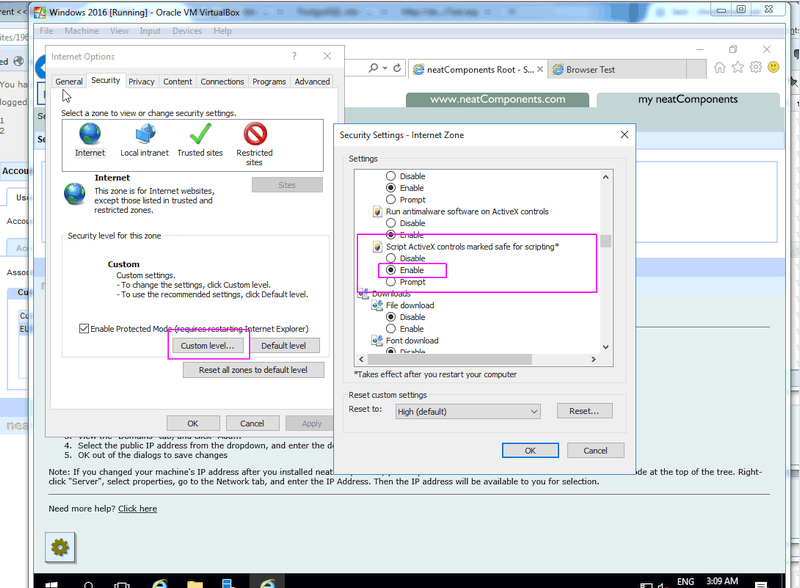
Adjust your Internet Security Settings
Internet Explorer comes with enhanced security in Server versions, so you will need to tell it to accept your neatComponents installation as 'Trusted'. IE should prompt you to do this.
Open the Control Panel | Internet Options
1: Select 'Trusted Sites' - Sites button: Add the download url to 'Trusted sites'.
2: Internet Zone | Custom Level button:
Enable "Script ActiveX controls marked safe for scripting".
Use Chrome or Firefox
As an alternative, you may install Chrome or Firefox and set them as the Default browser.
Install neatComponents
Now just follow the normal neatComponents installation procedure.
Why host yourself?
Control hosting costs
If your website or application is suitable, and you have a static IP address, neatComponents enables you to self-host on your own network eliminating external hosting costs.
A hosted dedicated server, or co-location, is often less expensive than Amazon AWS for larger volumes of traffic.
Securing content
Self-hosting also ensures that you have total control over physical access to stored data - ideal for business process applications.
Installing and Support In this section |
|
Installing and Support In this section: |
|
Copyright © 2026 Enstar Systems Inc. All rights reserved |